| img | ||
| tagconnect | ||
| .gitignore | ||
| README.md | ||
Crap-Connect 2030
A DIY Tag-Connect adapter that doesn't drain your bank account. Some assembly required.
BOM
- 2x PCB (see
tagconnectKiCad project folder) - 6x pogo pins with ca. 1mm outer diameter, sufficiently thin tip
- 3x metal rods with ca. 1mm diameter used as alignment pins (e.g. long pin headers)
- 1x pin header 2x3, 2.54mm spacing
- Shrinkwrap
Assembly
-
Put the pogo pins into one of the PCBs. I've found a small hammer and some support on the oder side (
X) to be useful; something like this:| Hit here with hammer V | | | | | | =========== XX | | | XX XX | | | XX XX | | | XX XX | | | XX XX | | | XX <- this side is the tips of the pogo pins XX XX -
Repeat for the second PCB:
| Hit here with hammer V | | | | | | =========== | | | | | | =========== XX | | | XX XX | | | XX <- this side is the tips of the pogo pins XX XX XX XX XX XX XX XX -
Make sure the tips of the pogo pins are able to move freely.
-
Solder the pogo pins into place. Make sure to not get solder in between the pins, it's close to impossible to get clean again.
-
Put the alignment pins (
I) in their appropriate holes. Use the hammer if necessary. Should look something like this:| | | I | | | I =========== I | | | I I | | | I =========== I | | | I I | | | I <- this side is the tips of the pogo pins I I -
Solder the alignment pins into place.
-
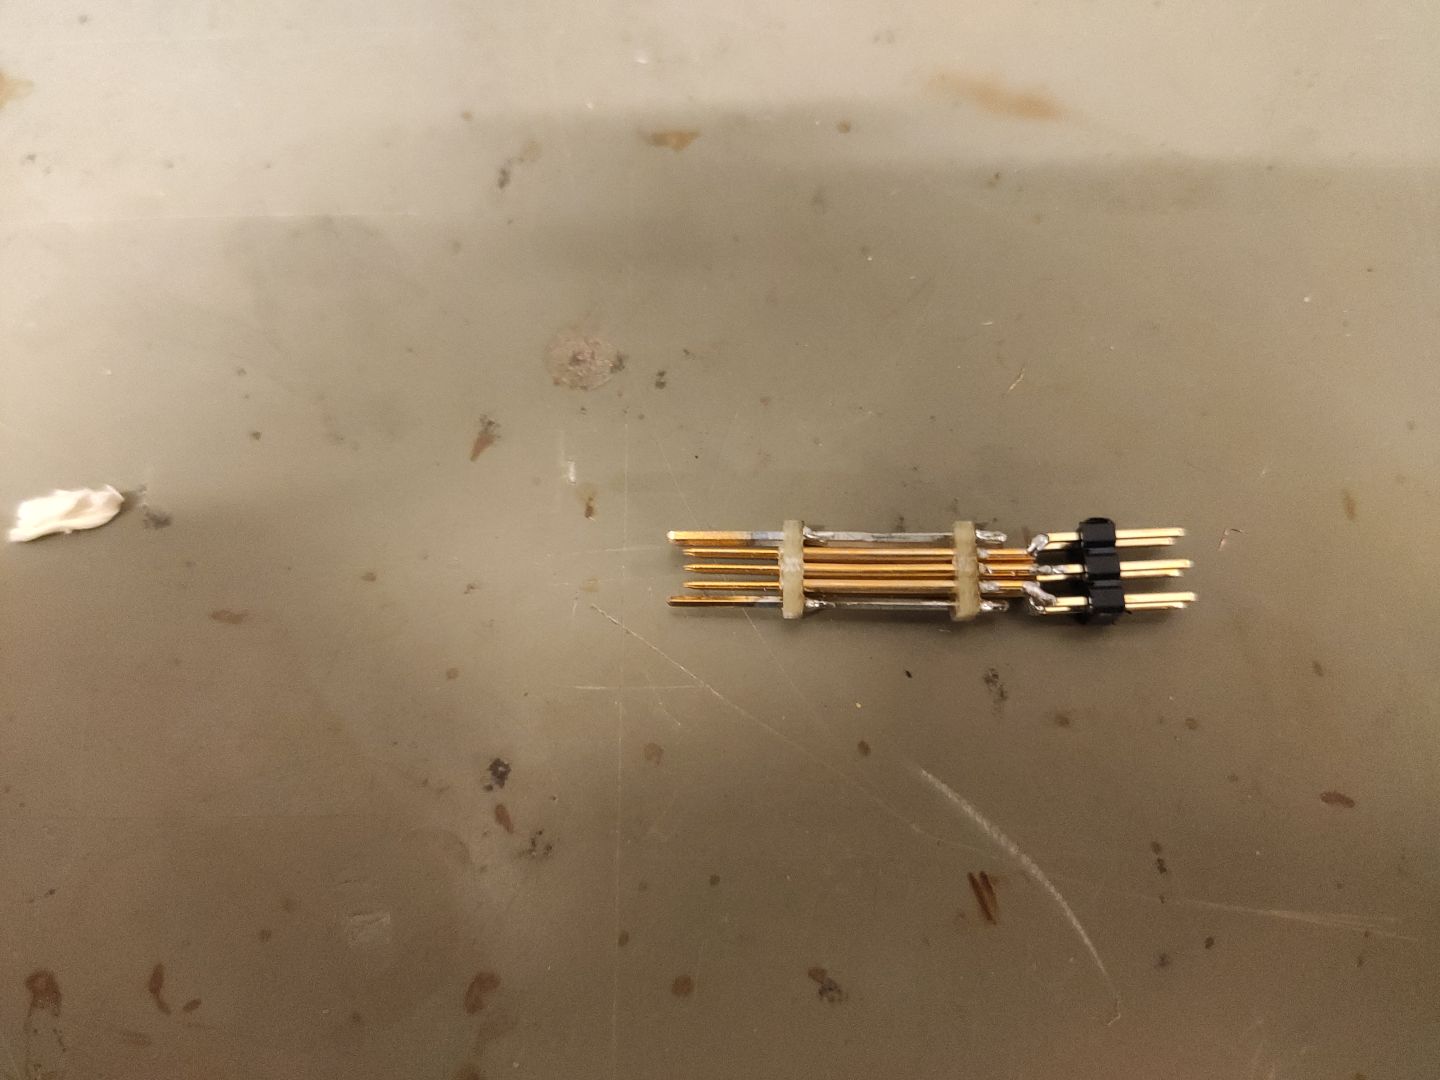
Solder the 2x3 pin header directly to the tail ends of the pogo pins. By now, the whole thing should look somewhat like this:
-
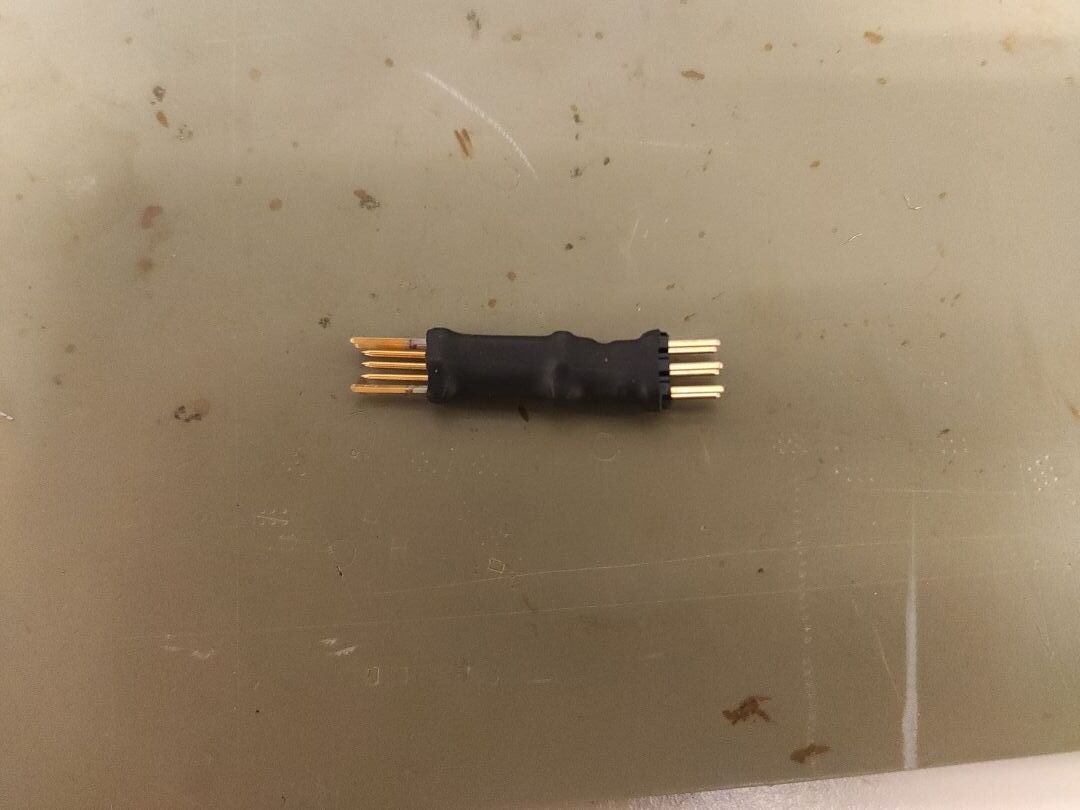
Wrap in shrinkwrak and you're done: